Ten years - What I've done in that time

It's been 10 years this year that I finished the DCCI’s Pottery Skills course in Thomastown. It seems like a good time to tell you about my history and what I’ve done in those years.

I did a ceramics degree in LSAD straight after school. I had planned on studying painting and becoming an illustrator of children's books but changed my mind after one week of ceramics. (This was during the days students tried out each discipline before deciding their chosen one). Limerick gave me my first proper experiences of throwing and it wasn’t long before I was hooked. During my time there, I learned how to develop an idea into a finished piece, something I have grown to appreciate over the years.

Then came my time in Thomastown. It was a fantastic and intense two years of learning everything needed to be a studio potter - from the glamorous (turning, testing and making glazes, playing with slip) to the less fun jobs (mopping the floor and cleaning out the settlement tank). It paved the way for future prospects.

I knew when I finished, I wasn't ready to set up on my own. I did an apprenticeship with the incredible Julie Ayton in Salisbury, supported by the amazing Adopt a Potter. I loved my time with Julie. I learned and experienced the day-to-day tasks of running of a pottery - admin, marketing, market applications and very importantly, teaching. I never wanted it to end! 
I ended up staying in Salisbury for over six years. After my apprenticeship, I worked at the local Arts Centre under Mirka Golden-Hann (Sadly the pottery is no longer there) and Messums West. 

Eventually, I took the jump and set up my own pottery in the north Dorset countryside in 2022. My studio was an old cow shed and far from perfect but it was mine! - a sloped floor, drafty doors, no running water and the odd mouse or two. There was so much nature there, more than I have seen anywhere else - rabbits, gold-crested newts, red kites, swallows, swifts, house martins… The list is long. 

I was selected for some of Britain's top pottery and craft fairs, Made Brighton, Potfest and Craft Festival to name a few, as well as local markets with Salisbury Arts Scene

I ran evening classes, teaching students how to throw, coil and hand build pots, slip decoration and glazing. They made the most amazing pieces (some of which you can see here in the student gallery). Some started as complete beginners and others already had some experience. I was blown away by some of the work they made and how much they improved in the time they were with me.

And now? I'm back in the north west of Ireland, looking for a studio to make and teach in. I'm doing up a shed at home until I can find somewhere big enough. I have ideas brimming away and am eager to get back making.

If you would like to say hello to me or see my pots in person, why visit one of the events I’ll be taking part in. You can find out where and when here.

The continued story of my Willow Vegetables

I’ve been making the Willow Veg Collection for nearly two years now. As the decoration has developed, I thought the form of the pieces needed developing too. A complex design needs a strong form as it can take a couple of hours to do the decoration (The tomatoes took 6.5 hours) and I felt the shape of the piece should reflect that in some way.

Since the blue and white patterns come from the old potteries, I thought the form should be inspired by them too. After a bit of research and googling, I found a Spode vase I liked. It’s simple yet sophisticated and timeless.

The first batch I made, I played with the proportions – tall and narrow; shorter and wider with a longer neck (I didn’t like that one as much). As the decoration of each one is unique, the forms will be too. For each batch I weigh out the same amount of clay so they are related to each other but that’s where the similarities end. The exact proportions and details are decided when I’m throwing them on the wheel.

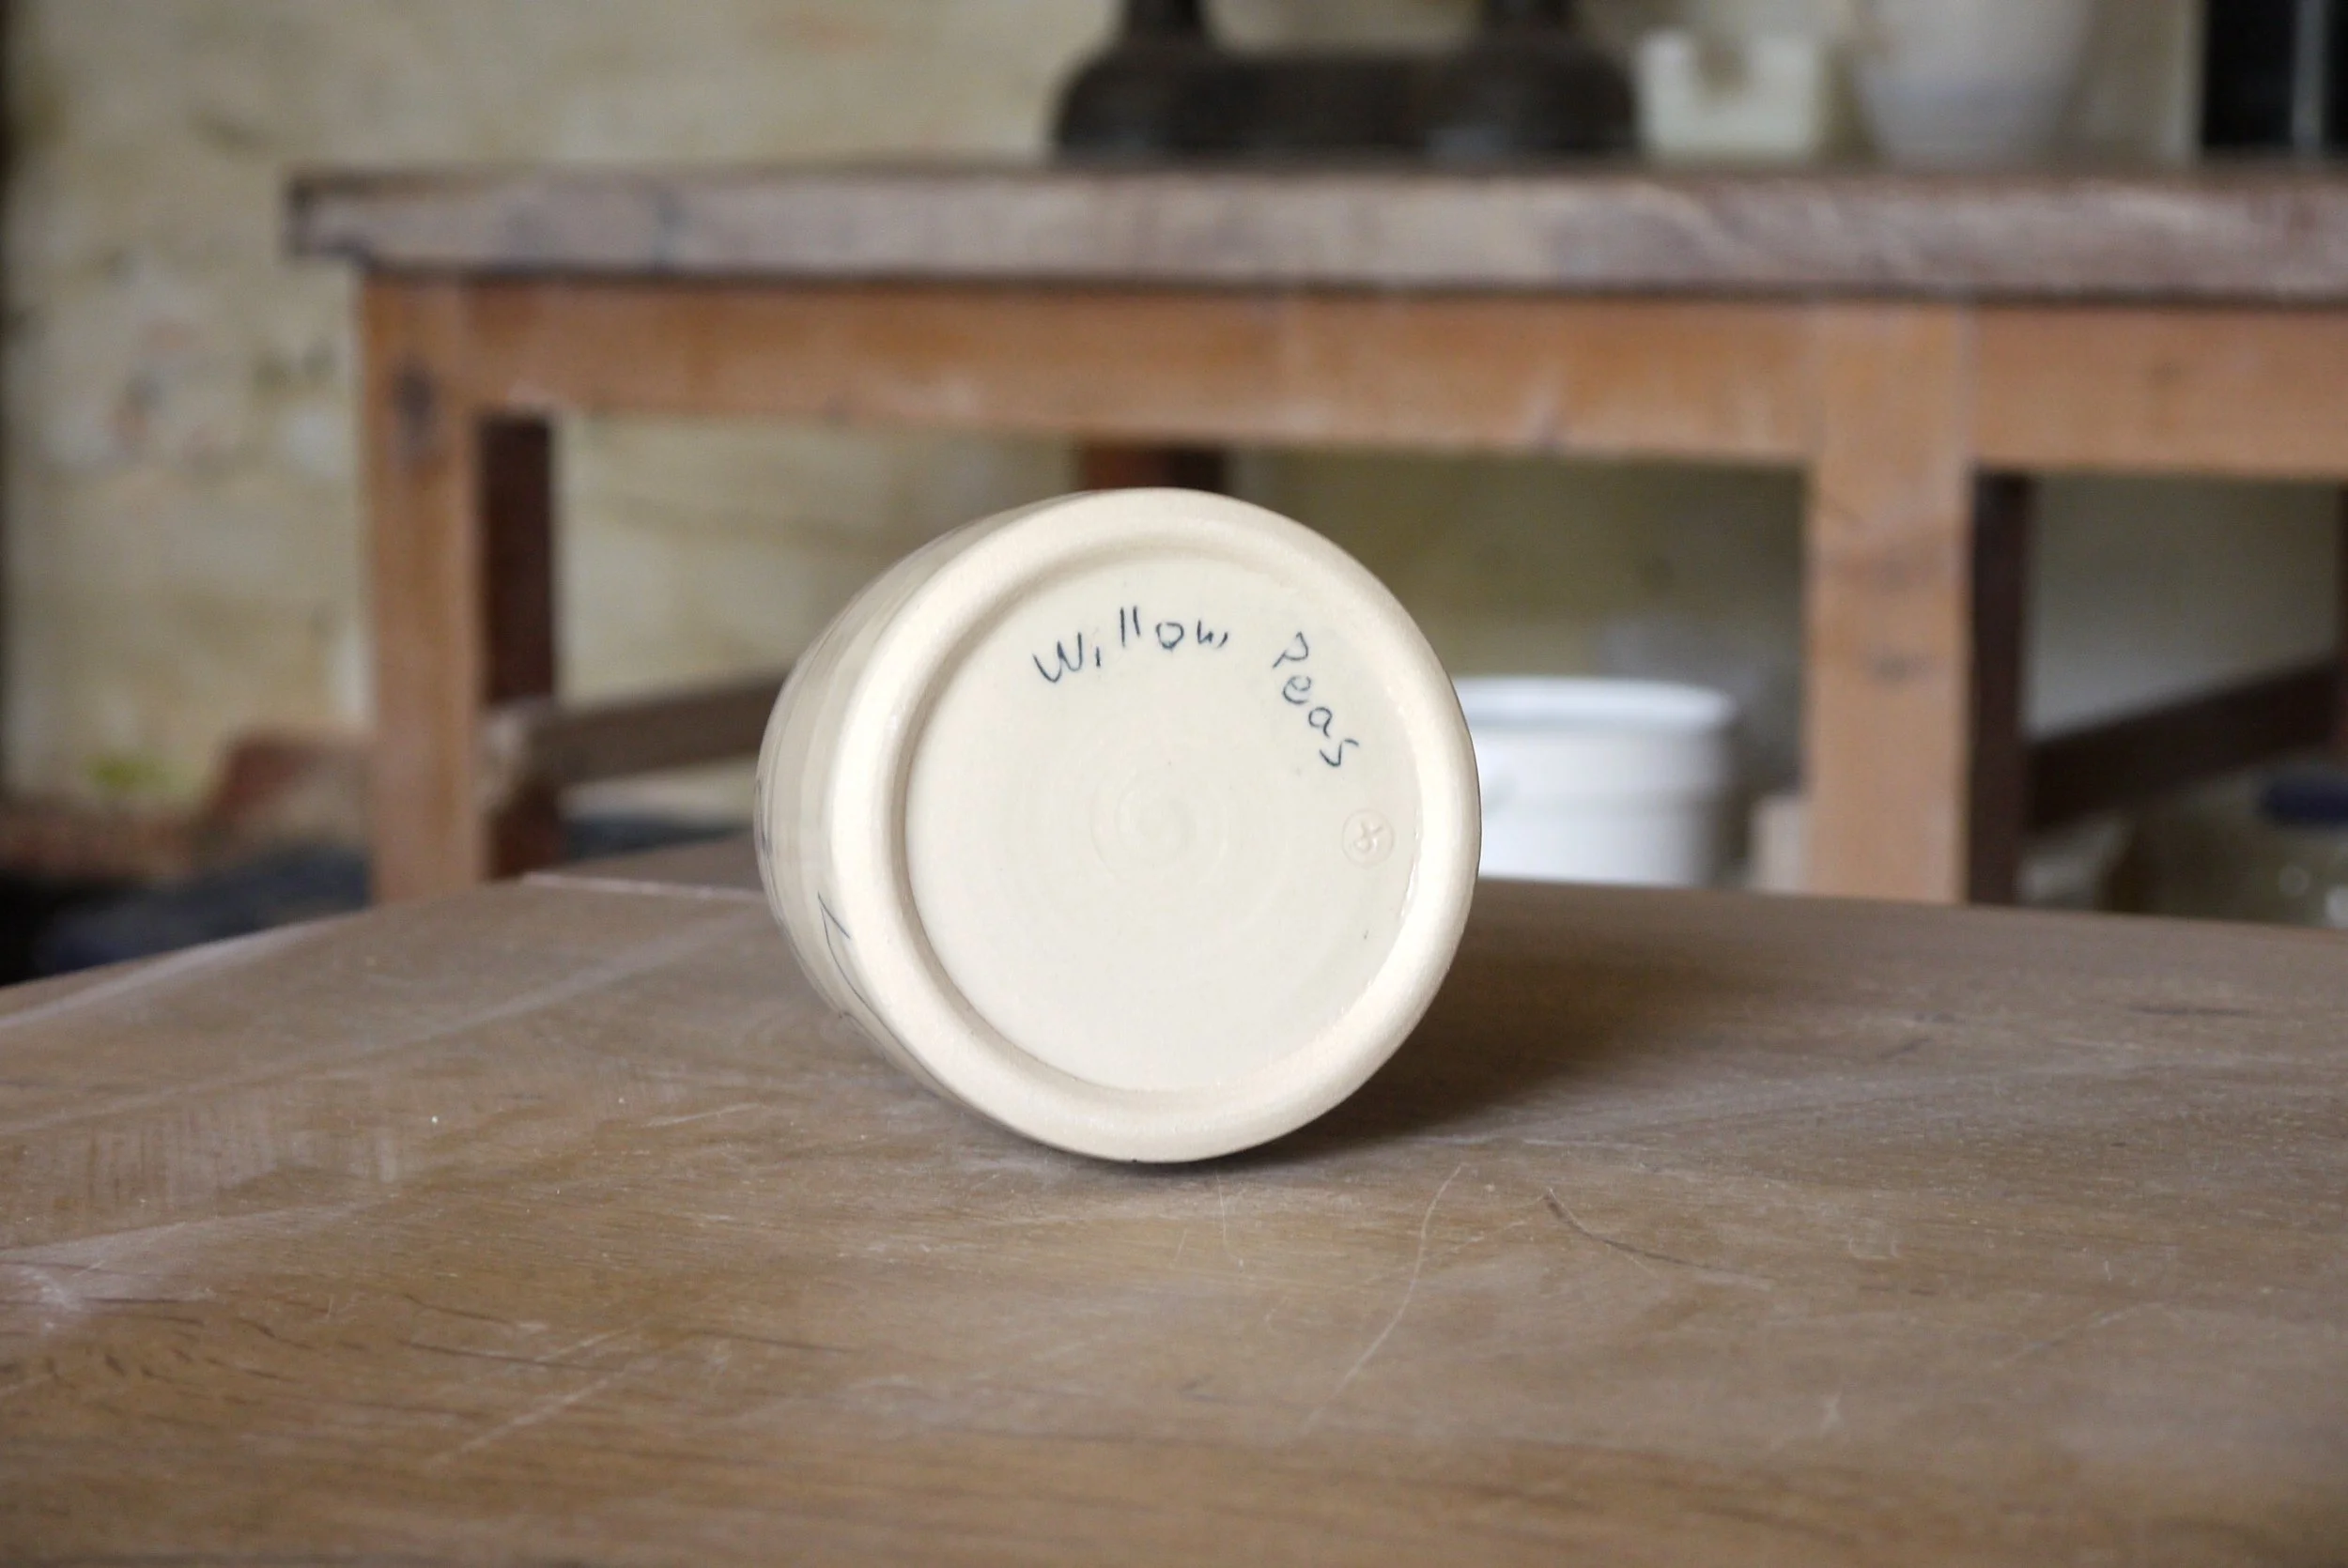
With each batch, the little details become more refined. You’ll now find the type of vegetable written on the bottom. So far I have been doing this by inlay, the next ones will be done using sgraffito.

I really like where they are going.

Willow Vegetables

Last November I did the Potfest in the Pens Melton Mowbray market. Every year the organisers have a potter’s competition based on a theme for all of their shows; last year’s theme was Rooted in the past, Planted in the present. It’s completely voluntarily and a bit of fun.

For my pieces I wanted to make something based on my allotment and the fragments of pottery I’ve found while digging the earth over. If you’re signed up to my newsletter, you’ll have seen a photo of them. The rooted in the past comes from the fragments, copied directly the onto the vases. The planted in the present is from the vegetables that I and my allotment partner grow on our plot - beetroot, onion (no it’s not a leek) and parsnip.

The fragments of pottery are very nearly all blue and white patterned mass-produced bone china or porcelain apart from the odd piece of stoneware. Some are tiny fragments of glaze on a very thin layer of clay and some are larger pieces, up to 5cm, from the bottom corner of a mug or the rim of a plate. I’ve lost count of how many I’ve found and I’m still finding more after three years. There are quite a few pieces of willow pattern, unintentionally these were the patterns I used, and a few contemporary patterns like thick stripes.

I spent some time drawing a few of my favourite patterns and discovering which style worked best when contained within the shape of a vegetable. The decorating techniques are a mix of sgraffito and inlay using slip; the originals were made using decal transfers. I really enjoyed the challenge of figuring out which techniques to use for each of my chosen pattern and especially when both techniques were used - which one was going to be used where. I kept the colour the same too as another reference to the fragments.

They were such a success and I love them so much that I’m going to make more of them. I’ve been thinking of other vegetables to use. Just watch this space…

Starry Nights

Starry tealight holders made from stoneware clay

I’m slowly adding new pieces to my Fields range. I have glazed the first batch of egg cups and will be coming out of the kiln in the next week or two. I’m trying to squeeze in as much making before I head off to Potfest Melton Mowbray in November. This week I made some more starry tealight holders.

This year I wanted to do something different with them, to improve the decoration and give them a different feel. In the past, I’ve planned out where each star will be, equally spaced around the tealight holder and every star is the same size. They had a structured feel. This year, I wanted them to be more energetic and natural. Each one is randomly decorated; no two stars are exactly the same size. I’ve added lots of dots for those faraway stars too. They’ve had their first firing and just need their glaze.  I hope you like them as much as I do.

A Happy Potter

After 6 months of searching and testing, my hunt for a transparent glaze is over. I had found a near perfect glaze about a couple of months ago. Well, when Andy Mason, the raku specialist, visited for the Messums Creative Raku Retreat I asked for his help. After a bit of tweaking and adjusting of the recipe, it works! (Thank you Andy) I’ve tweaked it a tiny bit more just to reduce the gloss. I like a shiny glaze but not too shiny. Anyway, here is the result. I made a slightly larger batch to test on an actual pot and I’m very happy. My next step is to make a 5kg batch of it for using on the pots, and to test it with a small amount of copper to create a green glaze. Copper is a dream to use and for me, it’s like the oxidation version of an iron celadon glaze.

What's been happening

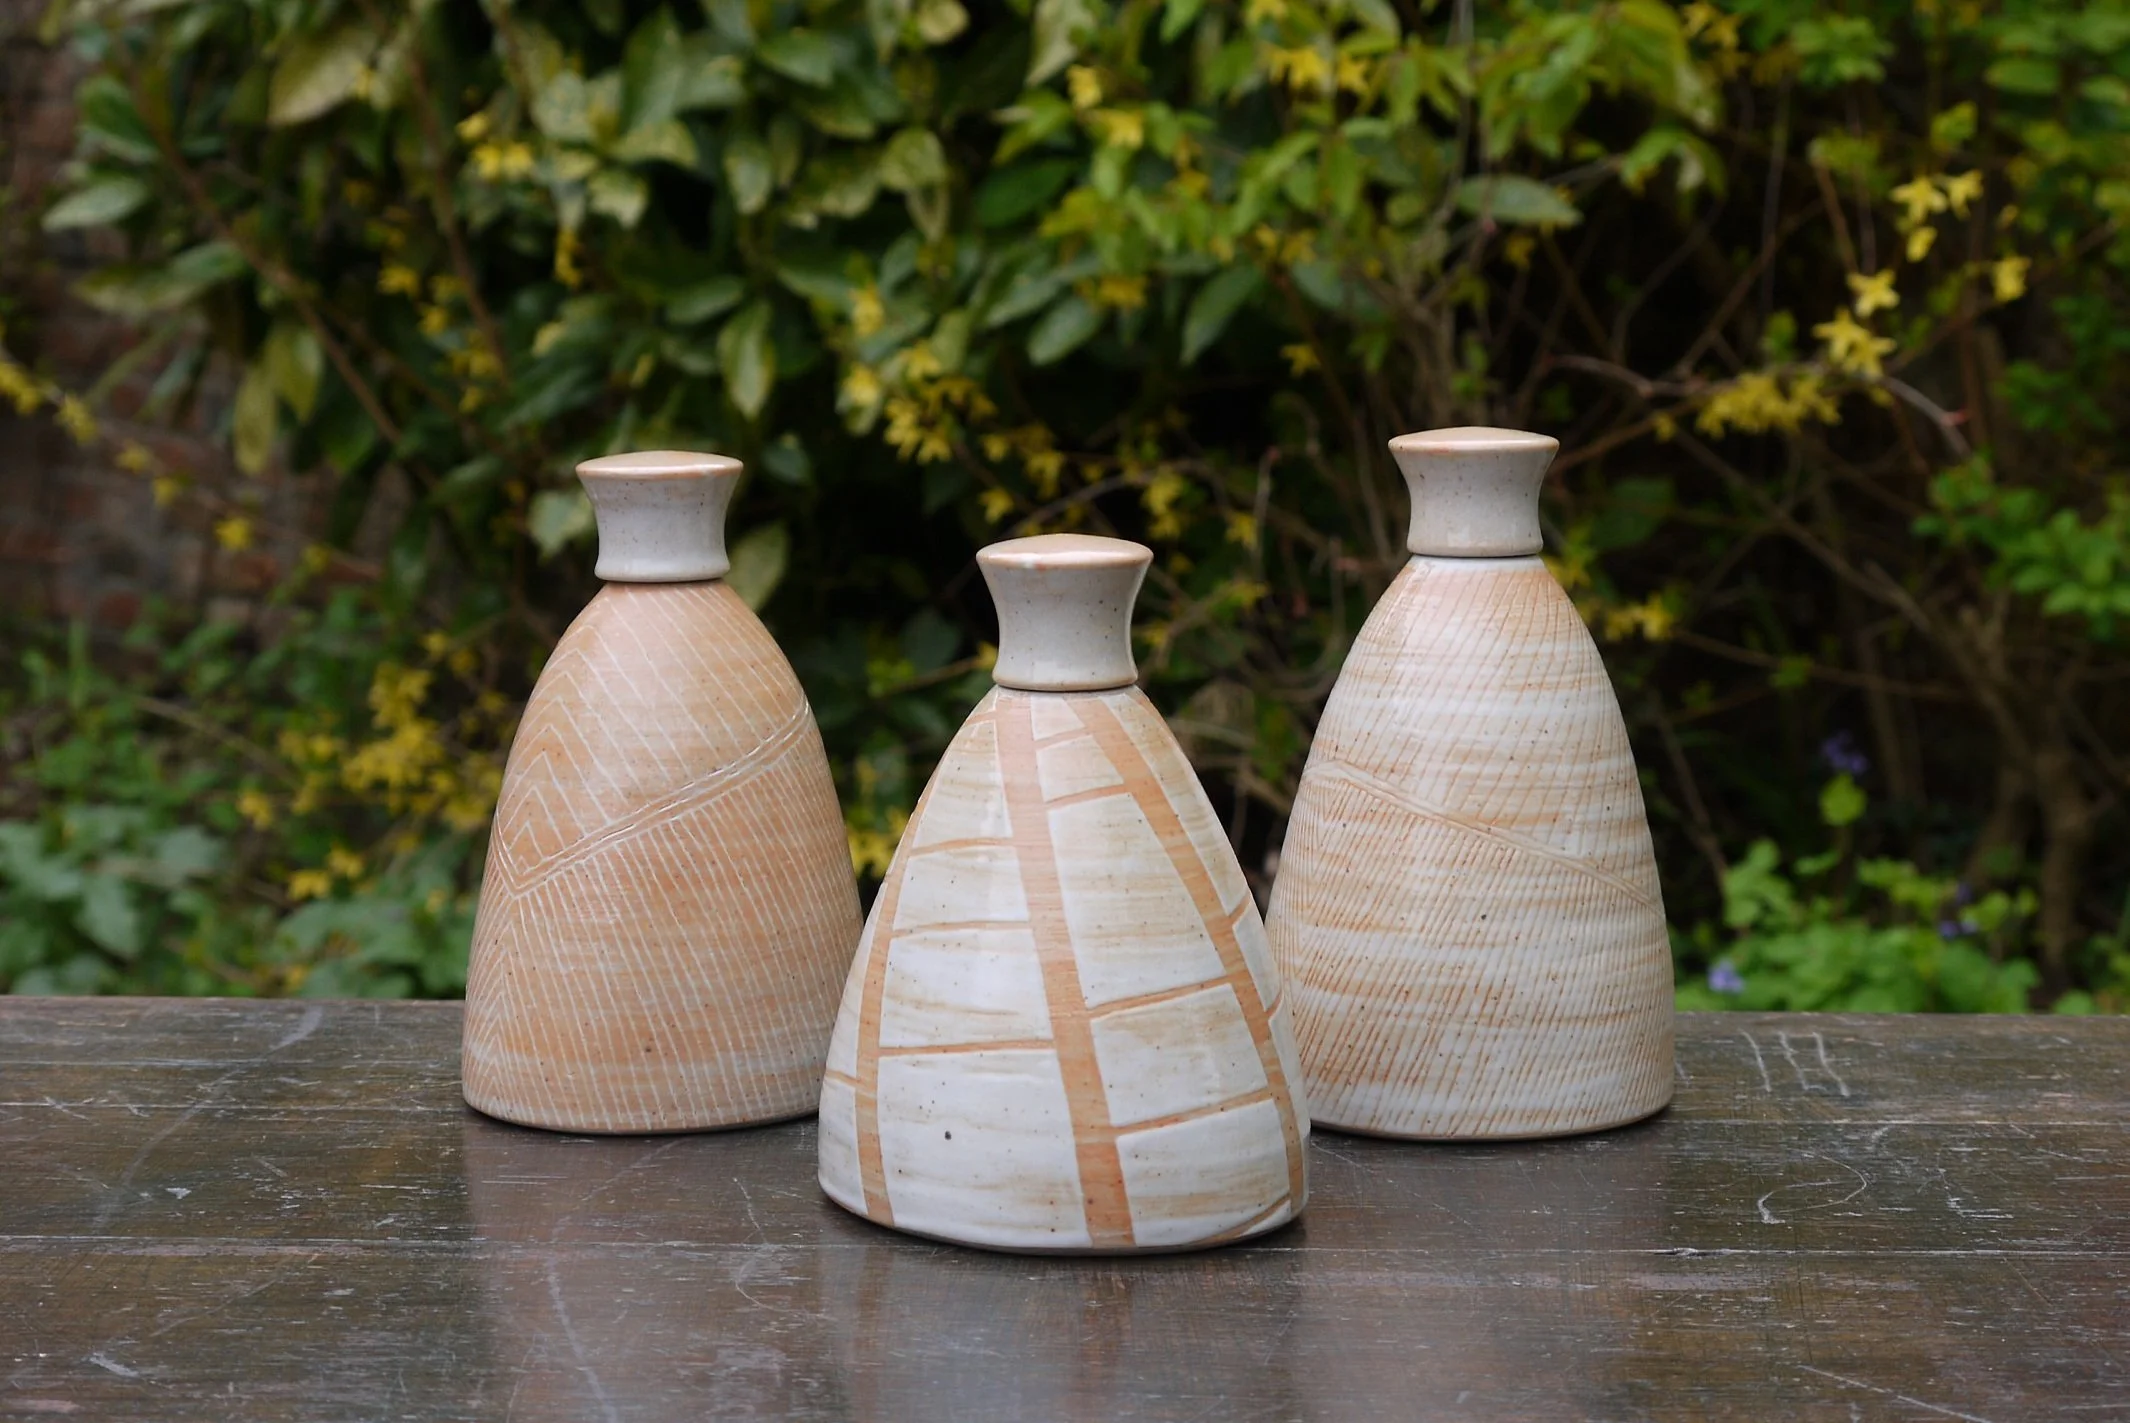
A lidded bottle decorated with shino glaze and paper resist

It’s been a funny few months. A lot has happened since February.

I’ve played with a shino glaze on bottles; trying sgraffito and inlay with it again. My first attempts didn’t quiet work but I learnt a lot from them. The new pieces have turned out really well. I’ve been playing with the proportions and curve of the form too. Subtle differences can make a big different to the overall look of a piece. The subtlety of the glaze works really well with the striking graphic pattern, especially with the paper resist pieces. They are my favourite.

I haven’t been doing very much throwing lately as I’ve been back at work and teaching at Salisbury Arts Centre. Most of my making has been demonstrating to students. It’s nice getting my hands covered in clay, even if only for a few minutes at a time. We started teaching our Youth and Children’s classes a few weeks ago. It’s so nice seeing what they make and hearing their conversations. It’s the best end to my working week. Our adult classes started back this week too and it’s been all go all week.

After two years of making at Julie Ayton’s pottery, she’s finally kicking me out. I had an amazing time there and with Julie’s support, encouragement and critics, I’ve developed a range of pots that I’m proud of. I’m not going far and will be making from the Arts Centre Pottery for the next few months, until my job ends in the autumn. I’m still thinking about what’s going to happen after that.

In the meantime, it’s Julie’s Midsummer Open Studio this weekend and we’ll be getting the pottery ready this week; arranging the spaces, putting out pots, cleaning the yard and putting up the bunting. There’ll be colourful and elegant pots, lucious baskets and imaginative prints and artist’s books. I’m really looking forward to see old customers again, catching up with them after so long and hopefully meeting some new ones too. If you’re in the area, make sure to pop in and say hello.

Oven and soap dishes

My large oven dishes are now bisque fired (the first of the two firings, to 1000°C) and glazed, ready for their second firing (to 1280°C) over the weekend. Only a few will be fired due to the kiln pack and the other pieces that are being fired. After making them with false bases, I’ve decided to go back to making them whole and then altering them into an oval shape. It was very slow to make them with false bases. Joining the pieces together took ages. Getting the detailing right; and the decoration process was broken up. I know now and it was definitely worth a go.

Yesterday I finished making a couple soap dishes, humbug ones. I really liked the accidental one that came out of the firing last year so decided to make one on purpose. The contrast of black and white and of positive and negative is eye catching.

Laying out and creating the pattern with the strips of newspaper is fun to do. When I first started making them, I tried to keep the strips as even and straight as possible. I realised quickly that it’s easier said than done when using a scissors. I prefer the uneven thicknesses and crooked lines now. It adds character, a perfect imperfectness that is part of handmade objects. It gives a hint as to how the piece is made.

I’m changing and improving the way I make them all the time. I made a template for the dish shape.  It’s much quicker to make them now and I know that the shape, curve and size is right. I use the remaining decorated clay to make the feet; it reduces waste and adds extra detail. I’m always playing with the design of the feet. This time I cut out a curved shape in them to add a visual lightness; and so they are more in keeping with the shape of the dish too.

A slab-built soap dish decorated with paper resist

St Bridget's Day

Seems like a good day to start back at writing my potter’s diary, my name day.

Today is St Bridget’s Day and a year since I finished my Adopt a Potter apprenticeship with Julie Ayton. I’m spending my mornings in the pottery during this lockdown. This morning I started making a small batch of large oven dishes. I’m making them with false bases i.e. I throw the walls, roll out a slab of clay for the base and join them together after I have distorted the walls and decorated the inside of the base. Whereas before I used to throw them whole, cut out a willow shaped hole from the base and join it back together. It was a bit awkward to slip-trail the insides. It took a few goes to get the new weight of clay right. Tomorrow, depending on the clay, will be decorating, assembling and adding the lug handles.

A handmade stoneware oven dish with blue decoration


Playing with Colour

For lockdown I gave myself the project of creating a new range of work, something different from my tableware range. I have been slowly making progress with it over the last few months; refining the details, playing with form, pattern, colour and surface decoration techniques. Developing a new body of work takes time as there is a lot of details to think about.

line blend of coloured stoneware slips

A few weeks ago, possibly longer as time has begun to blur, I made several coloured slip line blends* using commercial stains and natural oxides. They are (from top to bottom) red/orange, orange/yellow, yellow/green and green/blue. It’s very important when something new comes out of the kiln not to decide how you feel about it straight away, especially if you don’t overly like it. Usually this is because the glaze or slip has come out differently from how you hoped it would. As you can see from the photo it’s hard to tell which are the yellow and oranges slips. I was disappointed having expected them to be bright and colourful. They came out muddy with only a hint of their colour, even with a high percentage of stain. The 50-50 mix of the yellow with green works nicely and the orange with red too. I’m really happy with how the blue/green blend turned out. It is my favourite part of the colour wheel though.

With this in mind, I’ll be making up larger quantities of my chosen colours in the coming days and making more test tiles (I‘ve made a lot of tiles in the last few months) for testing these new colours with different coloured glazes over them. I have no idea how some of them will turn out, the colours they will be or the surface texture they will will have but that’s where the fun is. The possibilities are endless.

* Line blends are mixtures of two glazes or slips to specific and measurable proportions. It’s a quick and easy way for making and testing new colours and altering glazes.

Pot making plans

wn hanging stoneware bird feeders

My plan for this week was to make bird feeders. I’ve sold a few of them in the last few days (Hooray!) and wanted to make more for the next planned firing.

I threw five on Sunday evening and planned on trimming and altering them the next day. The clay is drying out very quickly in the heat and it decides when you work with it. Certain processes are done are certain times.  (Trimming is done when the clay is soft leather hard, like cheddar cheese. The altering (cutting the large windows and drainage and hanging holes) are done when the clay is hard leather hard, a bit like chocolate.) When I went to do the trimming, I discovered I had wired through the bases of all five feeders. That was annoying. They were my best shaped ones yet (see photo); a lovely proportion and curve with throwing lines at the top to add softness.  What did I do? I got straight back on my horse to make some more. Unfortunately either I or the clay was not in the mood on Monday. Every one of those bird feeders collapsed on me.

Not every throwing day is a success. The clay needs to be in the right condition. The right proportion of recycled clay mixed through fresh clay straight from the bag. It has to be the right softness; too soft and it will collapse, too hard and it will be difficult to move the clay. It’s also bad for your wrists to throw with hard clay. The larger the object, the softer the clay should be. The potter needs to be in the right mood too; your mind needs to be centred, focused and calm. A lot of potters have the ‘why am I doing this?’ days. Luckily when you feel better you remember why; why even though it’s not always easy, you wouldn’t swap it for anything. You begin to accept and learn to recognise the days when you are not focused enough for the wheel.  I’m still learning. One thing that Julie taught me during my time with her was to ‘learn to forgive and forget’. It’s better to stop and do something else productively than create a large pile of wedging and recycling for yourself, making yourself feel worse. Don’t get hung up on what went wrong. Everyone has bad days.

So after a couple days break from the wheel, I’m going making more bird feeders tomorrow. I’m looking forward to the satisfaction of seeing a line of bird feeders drying and waiting for the next stage of making.

The story of the bird feeders

Hanging ceramic bird feeder in the garden

But really May 25, 2020

Today I thought I tell you the story about my birdfeeders. Last year I was selected for the Downton Cuckoo Fair, an annual May Day fair in south Wiltshire. Julie asked me was there a particular garden related item that I might like to make for it. I realised I wanted to make bird feeders. Who doesn’t love standing at the back door or window in the morning watching the garden birds hopping and flying around?

A strong yet simple form is what I wanted to make, a shape that could be thrown on the wheel. I drew sketches; different proportions, tall and narrow, low and wide or basically square forms; curved and straight walled; with various window shapes and sizes, triangular, circular, square and rectangular. Drawing is a great way to quickly see if what’s in your head might work. The bird feeder needed to be easy to clean, hung in some way and allow rain water to drain away. After making and firing a few test versions, I learnt my original plan to have a removable base was not going to work. It was too awkward and annoying.  Luckily one of the one sample pots I made had drainage holes in the base and that was perfect.

The bird feeder here is what I came up with; square in proportion, a curved triangular form, a base that slightly curves in to direct the rain water to the six drainage holes near the walls and three large circular windows for the birds to easily land and take off from. Since last year I am continually refining the details: the windows at first were cut by hand, now I use a hole-saw to give me a clean and tidy circle and the drainage holes have changed position slightly so they are hidden from view. I use old and broken phone charging cables or van wiring for hanging them. It adds a splash of colour and uses something that would otherwise be put in a hole in the ground. They are glazed with the different glazes in the pottery and paired with different coloured wire; shino with blue as seen here, copper red with gold, celadon with green or iron red with a yellow wire.

The birds in our garden love it. The robin, cheeky little thing that he can be, loves sitting and watching the garden between helping himself to food. The sparrows will wait their turn and even the blackbird has discovered it.

I love making them. It is still a bit of a challenge to get the curve of the wall just right without losing height but it is a challenge which I really enjoy.